
How To Hang Your Wallpaper
1. Unroll Your Wallpaper
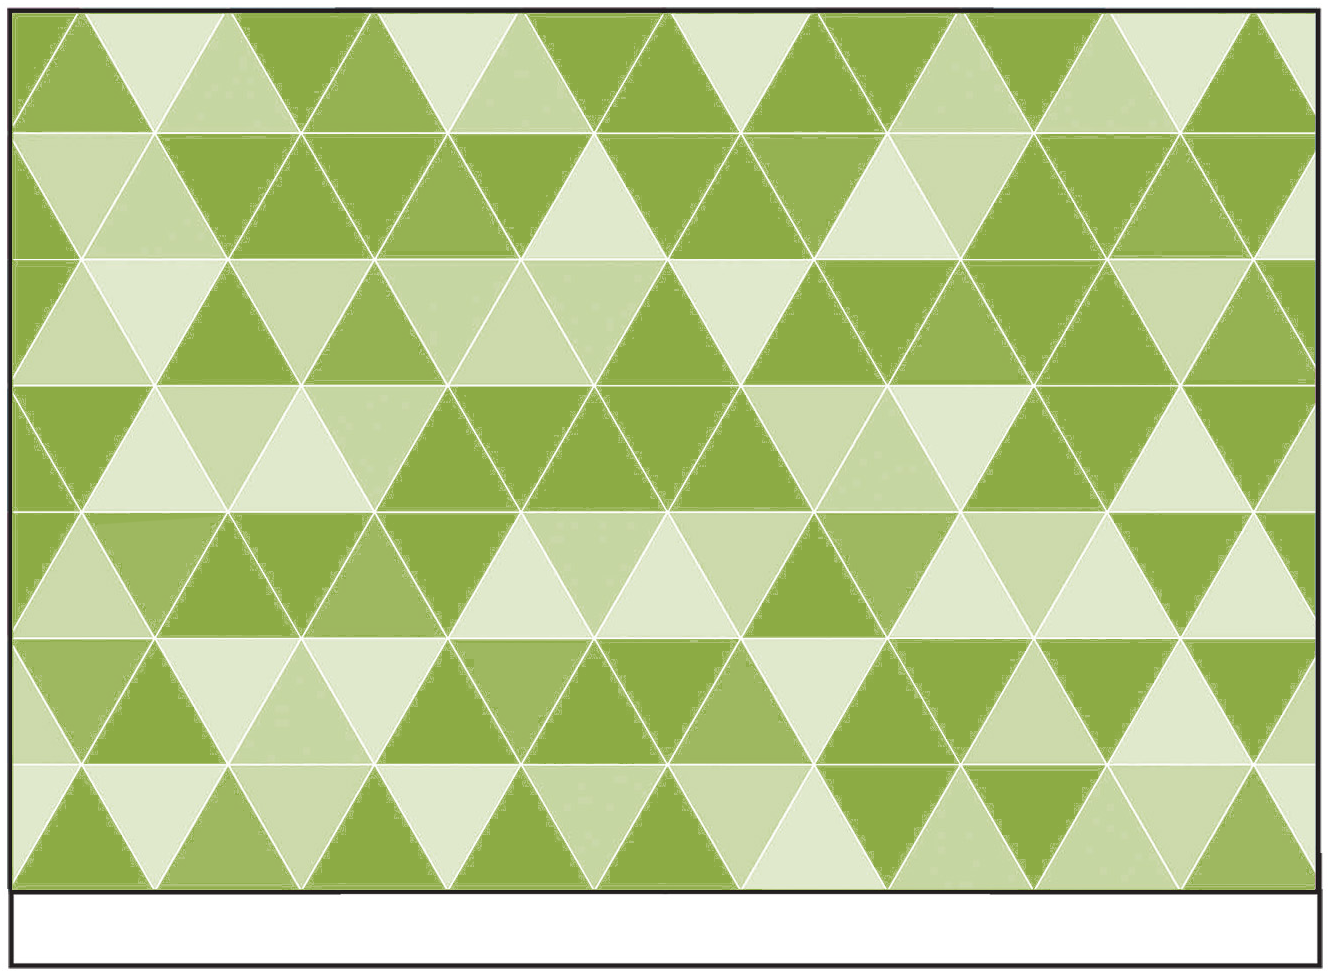
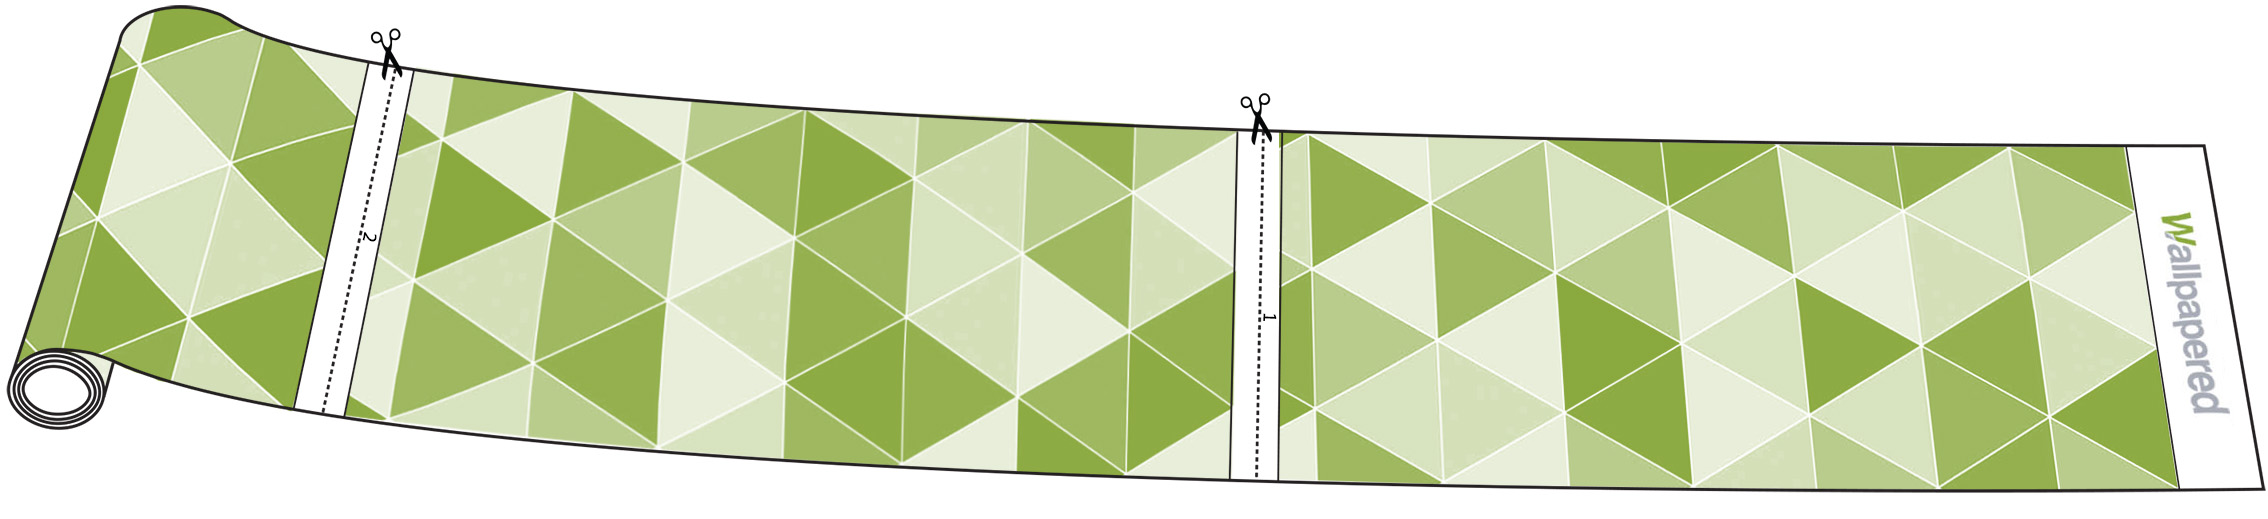
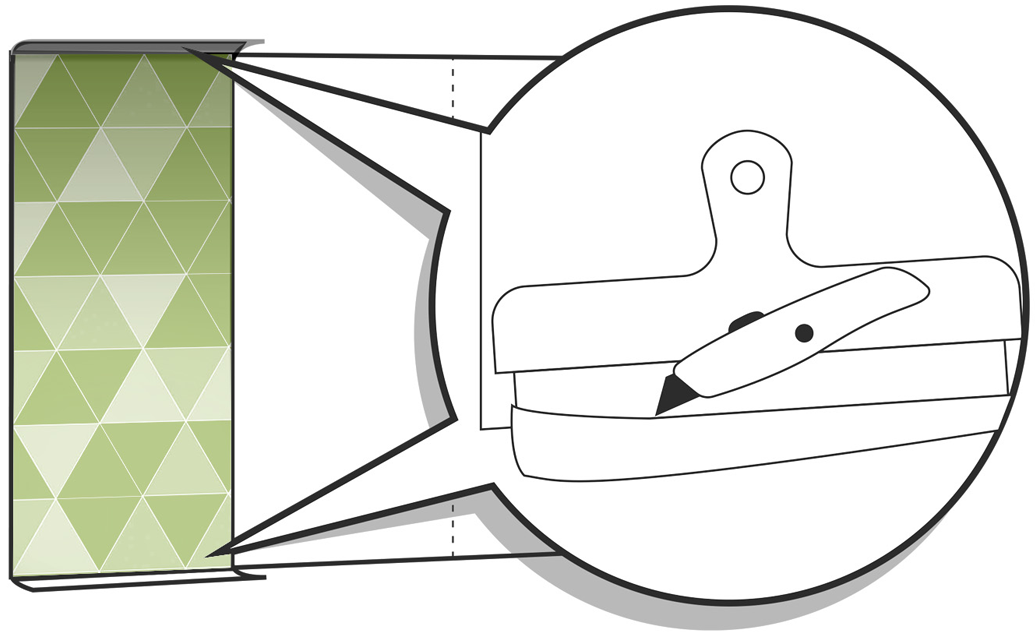
Your order will arrive packaged in a sturdy box. Open, unwrap and unroll your wallpaper. Each panel can be separated by cutting along the dotted lines. The panels are clearly numbered which will help you put them in order, ready to hang.

2. Prepare The Wall
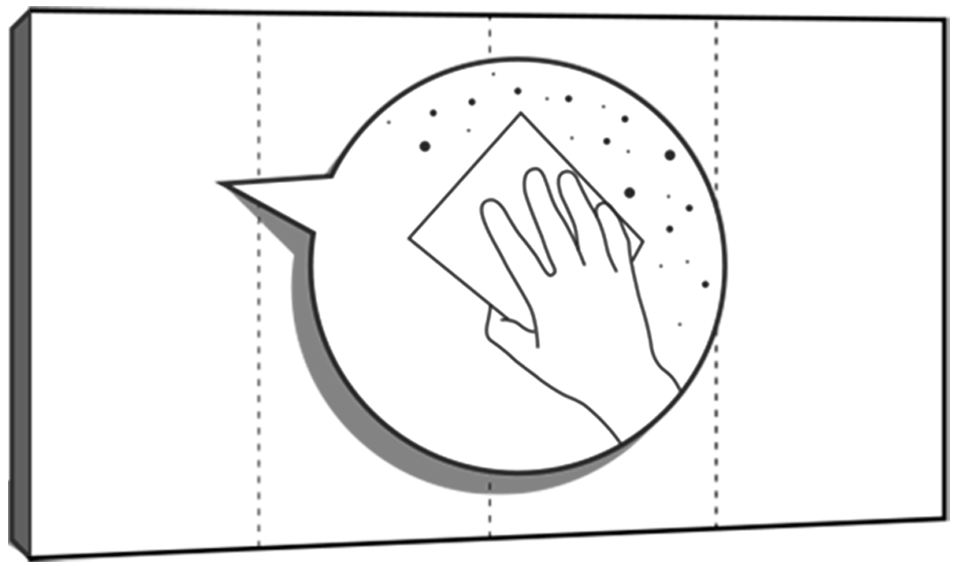
To ensure the best possible finish, make sure your wall is dry, clear of imperfections, smooth, and ready for wallpapering. Generously apply paste to the wall – enough for the first panel. You can use a plumb line to make sure the first panel is straight. Bring up the wallpaper to the wall, be careful not to get paste on the front!
2. Install The First Panel
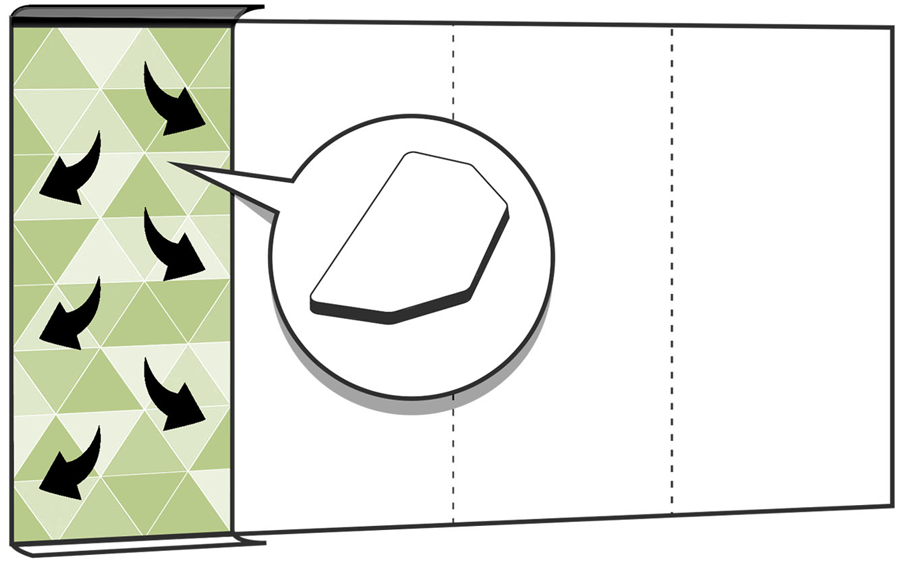
Bring up the first panel and position onto the pasted wall. Smooth down the wallpaper panel with a wallpaper brush or papering tool. Start from the top, working down the wall from the middle out to the edges. This will help remove any extra paste and air bubbles.
Ensure you are happy with the positioning of the wall panels before trimming away any excess wallpaper at the top and bottom of the panel. Use a sturdy straight edge and sharp knife to ensure a neat trim!
3. Complete Installation
Repeat these steps for each panel, installing alongside the previous panel until your wallpaper mural is complete. Now, step back and admire your amazing new wallpaper mural!